Troubleshooting WordPress Performance: How to Upgrade CPU, RAM, and Storage
March 13th 2025
A sluggish WordPress site can be frustrating for both site owners and visitors. If your website is loading slowly, timing out, or struggling to handle traffic spikes, one of the first areas to examine is your server resources. Many WordPress performance issues stem from an underpowered hosting plan that simply can't keep up with the demands of your website.
At SilverServers, we emphasize the importance of server resources as a core factor in website speed and reliability. This article is the first in a series focused on improving WordPress performance, covering key upgrades and optimizations that can make a real difference. In this first installment, we'll walk you through how to upgrade CPU cores, RAM, and high-speed storage to dramatically improve your WordPress site's performance.
If you're looking for a hosting provider that prioritizes performance, security, and reliability, consider hosting your WordPress site in Canada with SilverServers. Our custom hosting solutions are designed to meet the needs of businesses looking for a fast and stable online presence.
Step 1: Check Your Current Server Resources
Before making any upgrades, it’s essential to understand how your current hosting plan is performing. Use the following methods to analyze your resource usage:
- Check Your Hosting Control Panel – Most hosting providers include a resource usage dashboard where you can monitor CPU, RAM, and disk activity.
- Use a WordPress Performance Plugin – Plugins like Query Monitor or WP Server Stats can help you track resource consumption.
- Review Page Load Speed – Use tools like Google PageSpeed Insights, GTmetrix, or Pingdom to identify slowdowns related to server performance.
If your site regularly reaches its CPU or RAM limits, or if storage speed is causing delays, it's time to consider an upgrade.
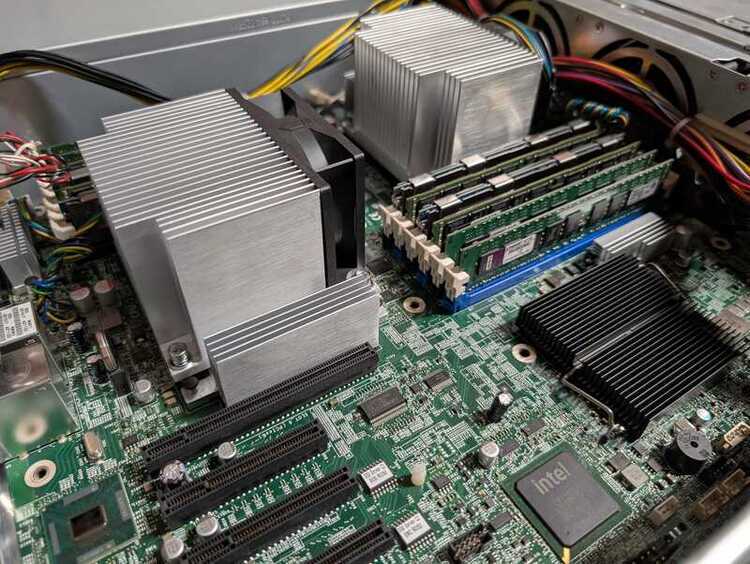
Step 2: Increase CPU Cores for Better Processing Power
The CPU (Central Processing Unit) is responsible for executing tasks on your server. A higher number of CPU cores allows your server to handle multiple simultaneous processes, which is crucial for WordPress sites with high traffic or complex functionalities.
How to Upgrade Your CPU Cores:
- Check Your Hosting Plan – Review your hosting package to see how many CPU cores you currently have.
- Compare Available Plans – Look at higher-tier hosting options from your provider to find one with additional CPU power.
- Switch to VPS or Dedicated Hosting – If you’re on shared hosting, moving to a Virtual Private Server (VPS) or dedicated hosting can give you more control over CPU allocation.
- Consult Your Hosting Provider – If unsure, reach out to your host to discuss CPU upgrade options.
Sign up for a Canadian website hosting account
Step 3: Increase RAM for Smoother Performance
RAM (Random Access Memory) is where your server temporarily stores data that needs quick access. When a visitor loads your WordPress site, essential files and database queries are stored in RAM to speed up processing.
How to Upgrade Your RAM:
- Identify Your Current RAM Usage – Use your hosting dashboard or a performance plugin to check memory consumption.
- Upgrade Your Hosting Plan – Look for a plan that offers more RAM allocation.
- Optimize WordPress Memory Usage – Adjust your
wp-config.phpfile to allow WordPress to use more memory (e.g.,define('WP_MEMORY_LIMIT', '256M');). - Use a Content Delivery Network (CDN) – Offloading some requests to a CDN can reduce RAM strain (we will discuss this more in a future article).
Step 4: Upgrade to High-Speed Storage (SSD vs. HDD)
Storage speed is another critical factor in website performance. Traditional hard drives (HDDs) are significantly slower than modern Solid-State Drives (SSDs),which offer much faster read and write speeds.
How to Upgrade to SSD Storage:
- Check Your Current Hosting Storage – If your provider still uses HDDs, look for SSD hosting options.
- Upgrade Your Plan or Migrate Hosts – If SSDs aren’t included in your current plan, consider switching to a host that offers them.
- Optimize Database Performance – Even with SSDs, a bloated database can slow things down. Regularly clean up old revisions, spam comments, and unnecessary data.
Step 5: Monitor Your Site’s Performance Post-Upgrade
After upgrading your server resources, it’s important to verify the improvements.
- Re-run Performance Tests – Use tools like GTmetrix and Pingdom to compare load times before and after the upgrade.
- Monitor Server Resource Usage – Keep an eye on CPU, RAM, and disk activity to ensure the upgrades are making a difference.
- Fine-Tune Additional Optimizations – Even with upgraded resources, using caching plugins, reducing plugin bloat, and optimizing images can further enhance speed.
Final Thoughts
If your WordPress site is slow despite efforts like caching and image optimization, inadequate server resources may be the culprit. By increasing CPU cores, RAM, and upgrading to SSD storage, you can significantly boost your website’s performance.
This article is just the beginning of our WordPress performance series. Stay tuned for upcoming articles where we’ll explore other optimization techniques, including caching strategies, database optimization, and efficient plugin management.
At SilverServers, we help businesses optimize their WordPress performance with tailored hosting solutions that ensure your site runs at its best. If you're unsure whether your current hosting plan is holding you back, contact us for a performance review!
Looking for a reliable hosting provider? Sign up for a Canadian website hosting account today and experience the difference of optimized hosting.
Watch for more WordPress performance articles in the WordPress section of our blog.